Documentation Index

Fetch the complete documentation index at: https://help.oncontinuum.com/llms.txt

Use this file to discover all available pages before exploring further.

Early Access · Continuum Pro

What is a Page?

A Page is a branded, interactive deliverable you send to clients and prospects. Instead of emailing a static PDF or a wall of text, your client gets a private link to a living, visual document — built around their specific situation, with your branding, your voice, and an embedded AI assistant that can answer their questions on demand.
Pages Chart Img
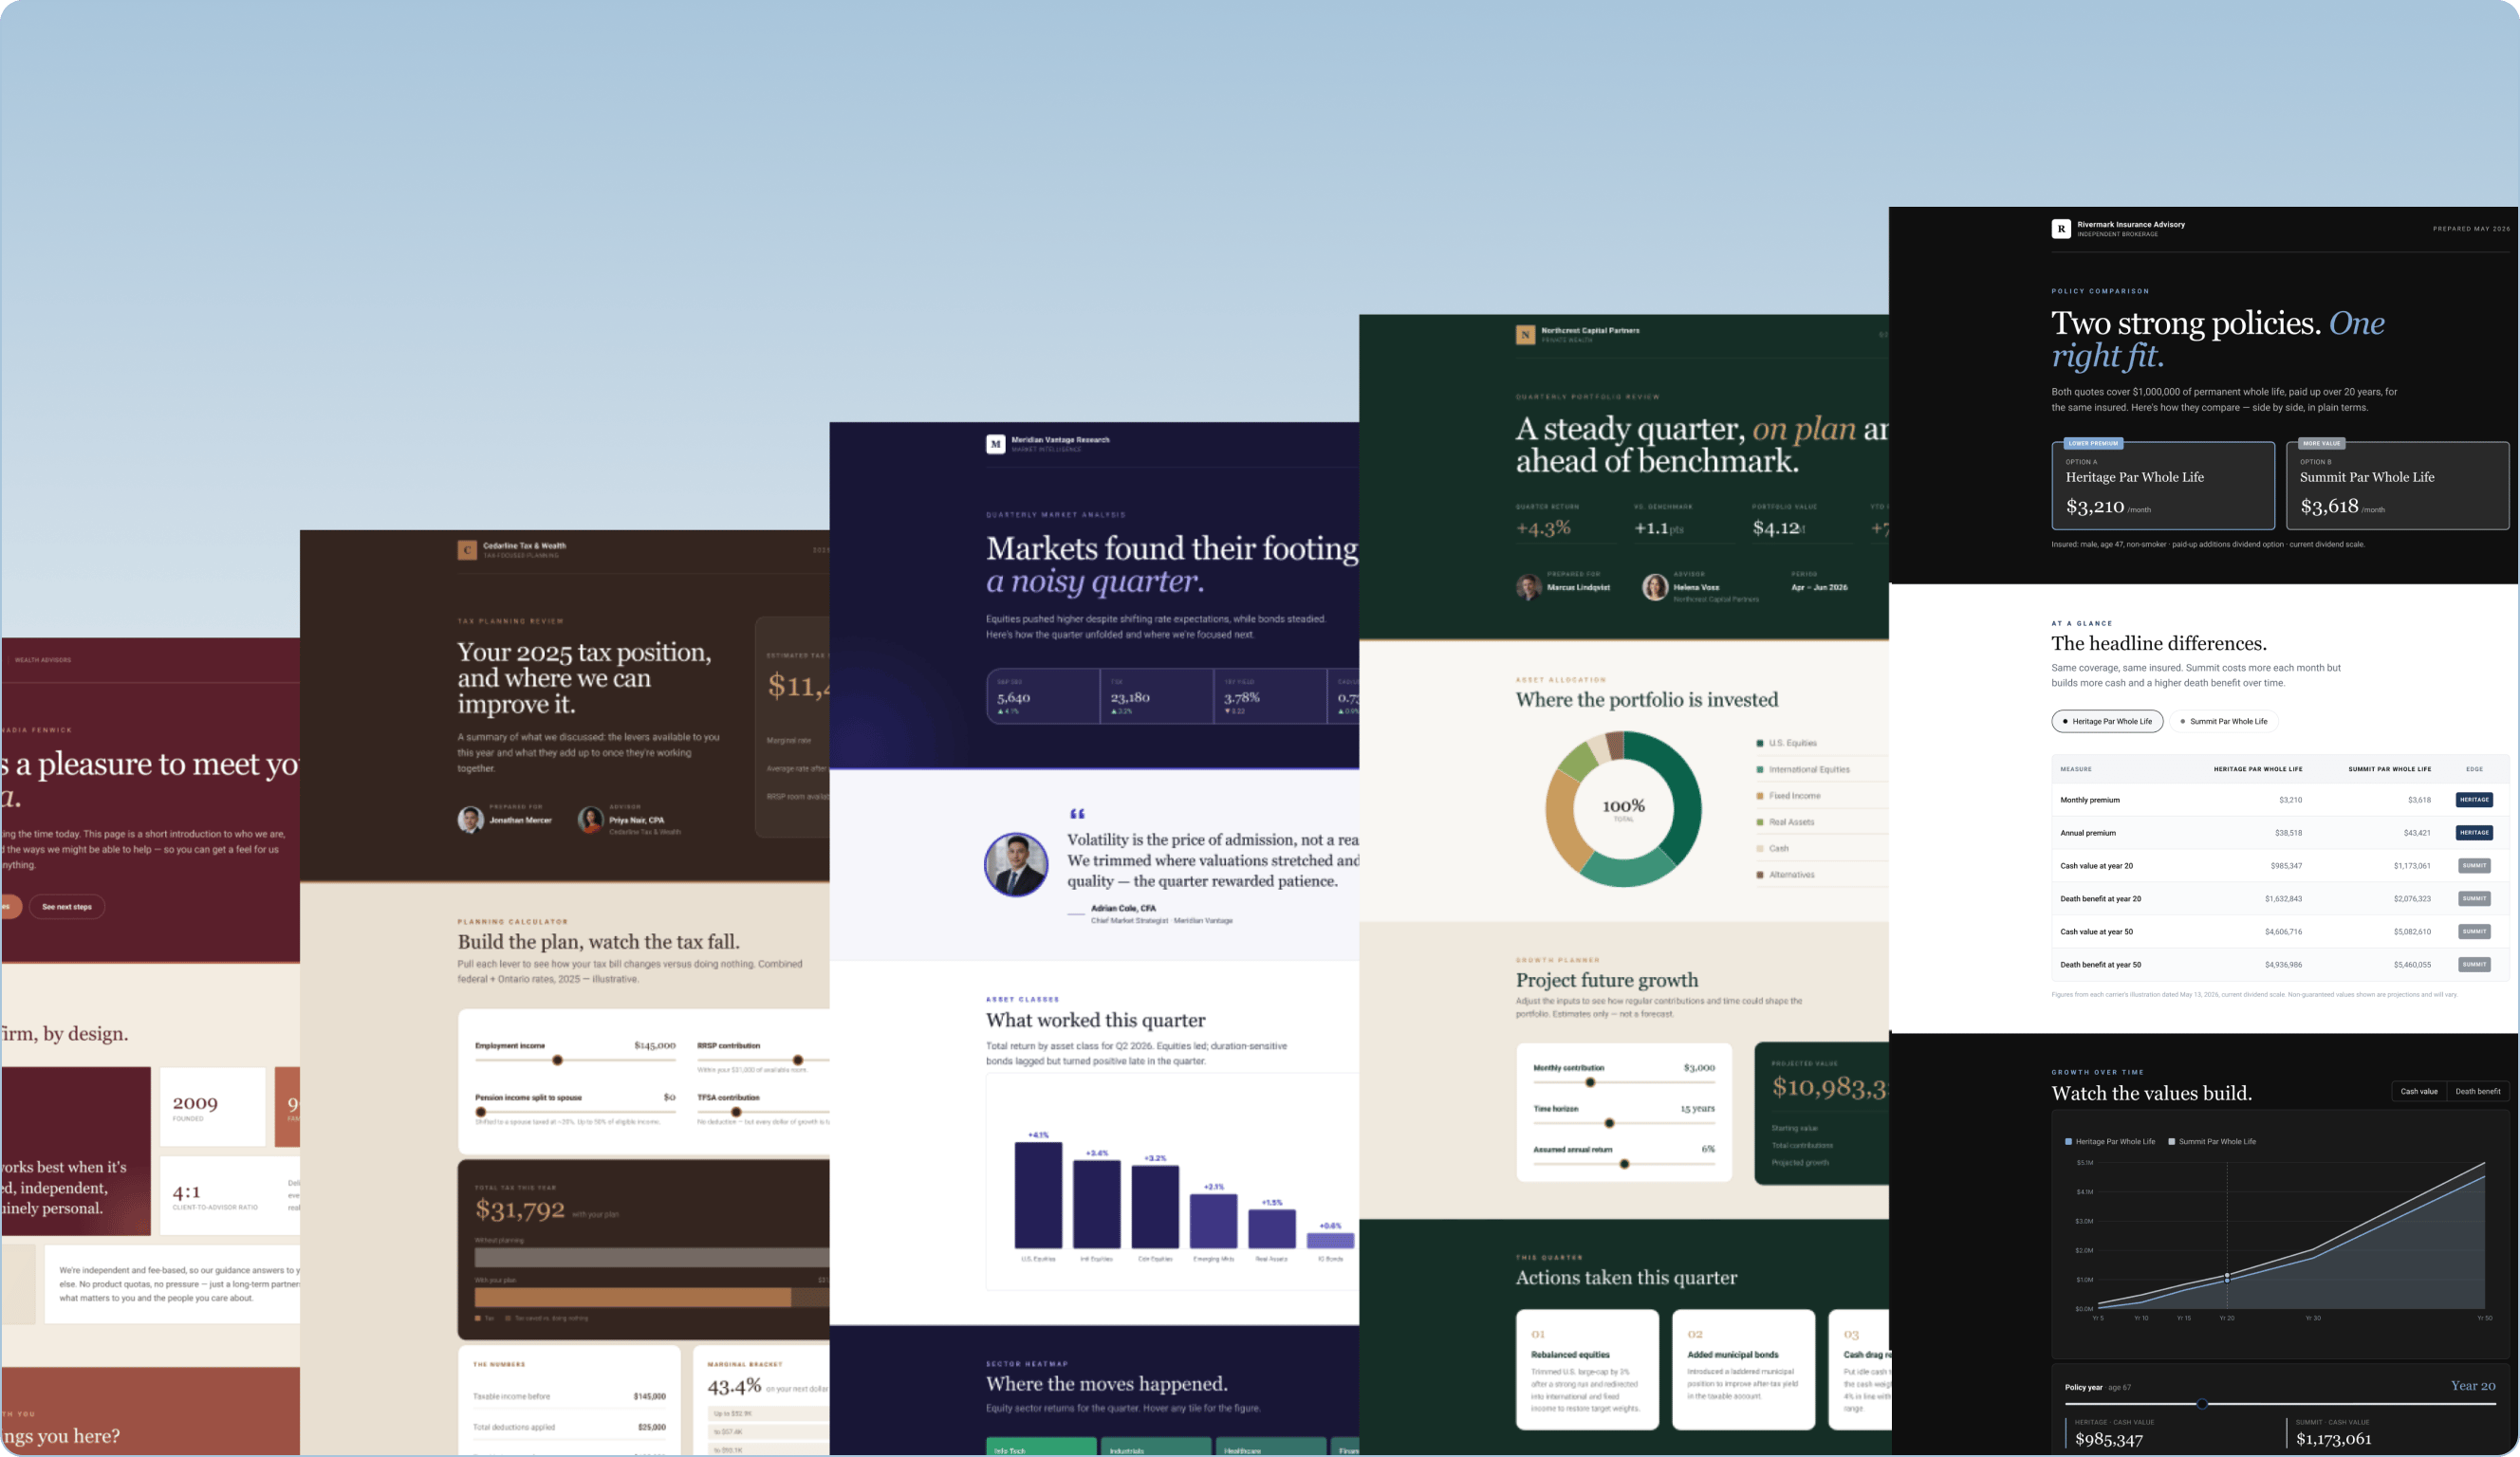
What makes Pages different from a follow-up email is what Continuum can do with your content. Upload a financial plan, and Pages can pull out the key numbers and present them as interactive charts, summary tables, and highlighted takeaways — not just a file to download, but a visual experience your client actually wants to engage with. It’s like having a personal artifact builder that knows your client, your meeting history, and your documents, and turns all of that into something polished and purposeful. Pages can also include downloadable attachments — the original plan PDF, an insurance illustration, a signed agreement — so your client has everything in one place. The distinction is that some documents become the Page (interactive, visual, embedded in the experience) and others are attached to it (downloadable files your client can save locally). The most common use case is after a meeting: Continuum captures the conversation and generates a Page with your summary, action items, and relevant documents ready to review and send. But you can also create a Page from scratch anytime — to share a proposal, deliver onboarding materials, send a quarterly update, or package any set of documents with context. Pages carry your firm’s branding — your logo, your colours, your name — so every touchpoint looks like it came from your practice, not from a cookie-cutter software tool. Clients can revisit their Page anytime to review what you shared, explore the charts and summaries, download documents, or ask follow-up questions through the built-in AI chat. On your side, you get the analytics to see exactly how your client is engaging: when they opened the Page, how long they spent, what documents they viewed, and what questions they asked the AI. That means you can reach out at the right moment with the right context — no more guessing whether they read your email.

When should I create a Page?

Pages work best when there’s something for your client to act on, review, or come back to. The most common use cases: After a discovery meeting with a prospect. Send a Page with your recap of their goals, the next steps you discussed, and any introductory documents or proposals. It’s the fastest way to look polished, organized, and differentiated from other advisors they’re evaluating. After a financial plan review. Summarize the key takeaways, attach the updated plan documents, and let the AI assistant handle the follow-up questions your client would normally call you about — “What was the projected retirement date again?” or “Can you remind me what we said about the RESP contributions?” After any client meeting with action items. Annual reviews, insurance discussions, estate planning conversations — anytime there are next steps, a Page gives your client a clear, interactive record of what needs to happen and who’s responsible. When you’re sending documents that need context. Rather than emailing a bare PDF, wrap it in a Page with a personal note explaining what it is and what to do with it. Your client gets the document plus the context, and you get visibility into whether they actually opened it. Proactive outreach without a meeting. You don’t need a meeting to create a Page. Send a Page to onboard a new client with welcome materials and setup instructions. Package a quarterly portfolio update with commentary. Share a proposal with a prospect you met at a conference. Anytime you’d otherwise send a long email with attachments, a Page is a better experience. You don’t need to create a Page after every single interaction. Quick check-in calls or brief admin updates probably don’t warrant one. Use your judgment — if the client would benefit from something structured and interactive they can come back to, it’s a good candidate for a Page.

How to create a Page

There are two ways to create a Page: from a meeting, or from scratch. This is the most common path. After Continuum captures a meeting, it can generate a Page with your summary, action items, and documents pre-populated.
1

Open your meeting notes

Navigate to the meeting in your sidebar and open the summary view.
2

Click "Create Page"

You’ll see the button in the top right of the meeting notes screen. This is the primary action after reviewing your notes.
3

Select the recipient

A modal will appear showing the participants from the meeting. Choose the client or prospect this Page is for and click “Create.”
4

Review the draft

Continuum generates a Page with pre-populated sections pulled from your meeting. Some examples are:
  • Header — Your firm logo, your name and photo, and a “Schedule meeting” button for the client
  • Message — A personal note from you, AI-drafted based on the conversation. Edit this to sound like you.
  • Meeting Summary — The AI-generated recap of what you discussed
  • Next Steps — Action items with checkboxes, descriptions, and links (e.g., DocuSign URLs). Your client can mark these as complete on their end.
  • Attachments — Drag and drop any files you want to include
  • Schedule Meeting — A booking link so the client can schedule their next appointment
5

Edit anything you want to change

Click into any section to edit the text directly. Use the formatting toolbar for bold, italic, lists, and links. Toggle “Auto format” to let Continuum clean up the formatting for you.
6

Preview and Send

Use the “Preview” button in the top bar to see exactly what your client will see. When you’re happy, click “Send.” See more on the Send step in Section 7.

From scratch

You can also create a Page without a meeting — useful for onboarding materials, proposals, quarterly updates, or any deliverable you want to send with engagement tracking.
1

Go to Pages in the sidebar and click "+ New Page."

2

Choose a client

Search for and select the client or prospect this Page is for.
3

Pick a template

Select a template from the dropdown, or leave it on “Auto format” to let Continuum structure the Page for you.
4

Link a meeting (optional)

If this Page relates to a past meeting, search for it here. Continuum will pull in the transcript and context. Leave this blank if you’re building from scratch.
5

Describe what you want

In the prompt field, tell Continuum what the Page should be about — “Quarterly portfolio review with performance summary” or “Onboarding welcome package with next steps.” You can also attach documents here using the + button for the Page to build around.
6

Review and edit

Continuum generates the Page based on your prompt, any attached documents, and your relationship history with the client. From here, use the “Edit with AI” bar to refine content, restructure sections, or add detail.

Adding your brand

Pages are designed to look like they came from your practice, not from Continuum. Your branding is applied automatically once it’s configured.
Pages Brand Img 1
Setting up your brand for the first time:
  1. Open the Brand panel. From any Page, click the “Brand” button in the bottom right corner of the editor. The Brand panel opens on the right side of the screen.
  2. Enter your website. Click “Re-run setup” (or complete the initial Brand Setup if it’s your first time). A modal will appear asking for your firm’s website URL. Enter it and click “Extract” — Continuum will automatically pull your logo and brand colours from your site.
  3. Review and adjust. The Brand panel shows your company name, logo, and two colour swatches: Primary and Accent. If the auto-extracted colours aren’t quite right, click either swatch to adjust manually. You can also choose from colour presets — Forest, Ocean, Plum, and others — for a quick starting point.
  4. Save. Click “Save” at the bottom of the Brand panel. Your branding is now applied to this Page and will carry over to future Pages.
What gets branded: Your company name, logo, and colour palette flow through the entire Page — the header banner, section accents, and overall visual theme. Every Page your client opens looks like it was built by your firm. What your client sees: When a client opens their Page, the experience is fully branded. Your logo appears at the top, the colour palette reflects your brand, and there’s no Continuum branding visible. It looks and feels like a proprietary tool built for your practice.

Editing Pages with AI

You can edit Pages two ways: in natural language with AI or with manually. Edit with AI. Click “Edit with AI” to open the AI editor. Type instructions in natural language and Continuum will update the Page accordingly. For example:
  • “Make the tone more formal”
  • “Add a section about the RESP contribution strategy we discussed”
  • “Shorten the summary to three paragraphs”
  • “Rewrite the personal message — mention that I enjoyed meeting their daughter”
  • “Update the chart to show the last five years instead of three”
If the Page was generated from a meeting, the AI has full context from your transcript, so it can pull in details you might have missed or restructure content based on what was actually discussed. You review every change before the client sees anything — nothing is sent automatically. Manual editing. Click the “Edit” button to enter edit mode. From here you can click into any text section — the message, the summary, next steps — and edit inline, just like a document. Use the formatting toolbar to apply bold, italic, bullet lists, and hyperlinks. This is best for quick tweaks: fixing a name, adjusting wording, removing a sentence. When to use which. Text can be edited either way — manually for small fixes, with AI for bigger rewrites or when you want Continuum to draft something for you. Charts, tables, and images can only be edited with AI. If you need to change a data visualization or swap an image, describe what you want in Edit with AI and Continuum will regenerate it.

Adding and attaching documents

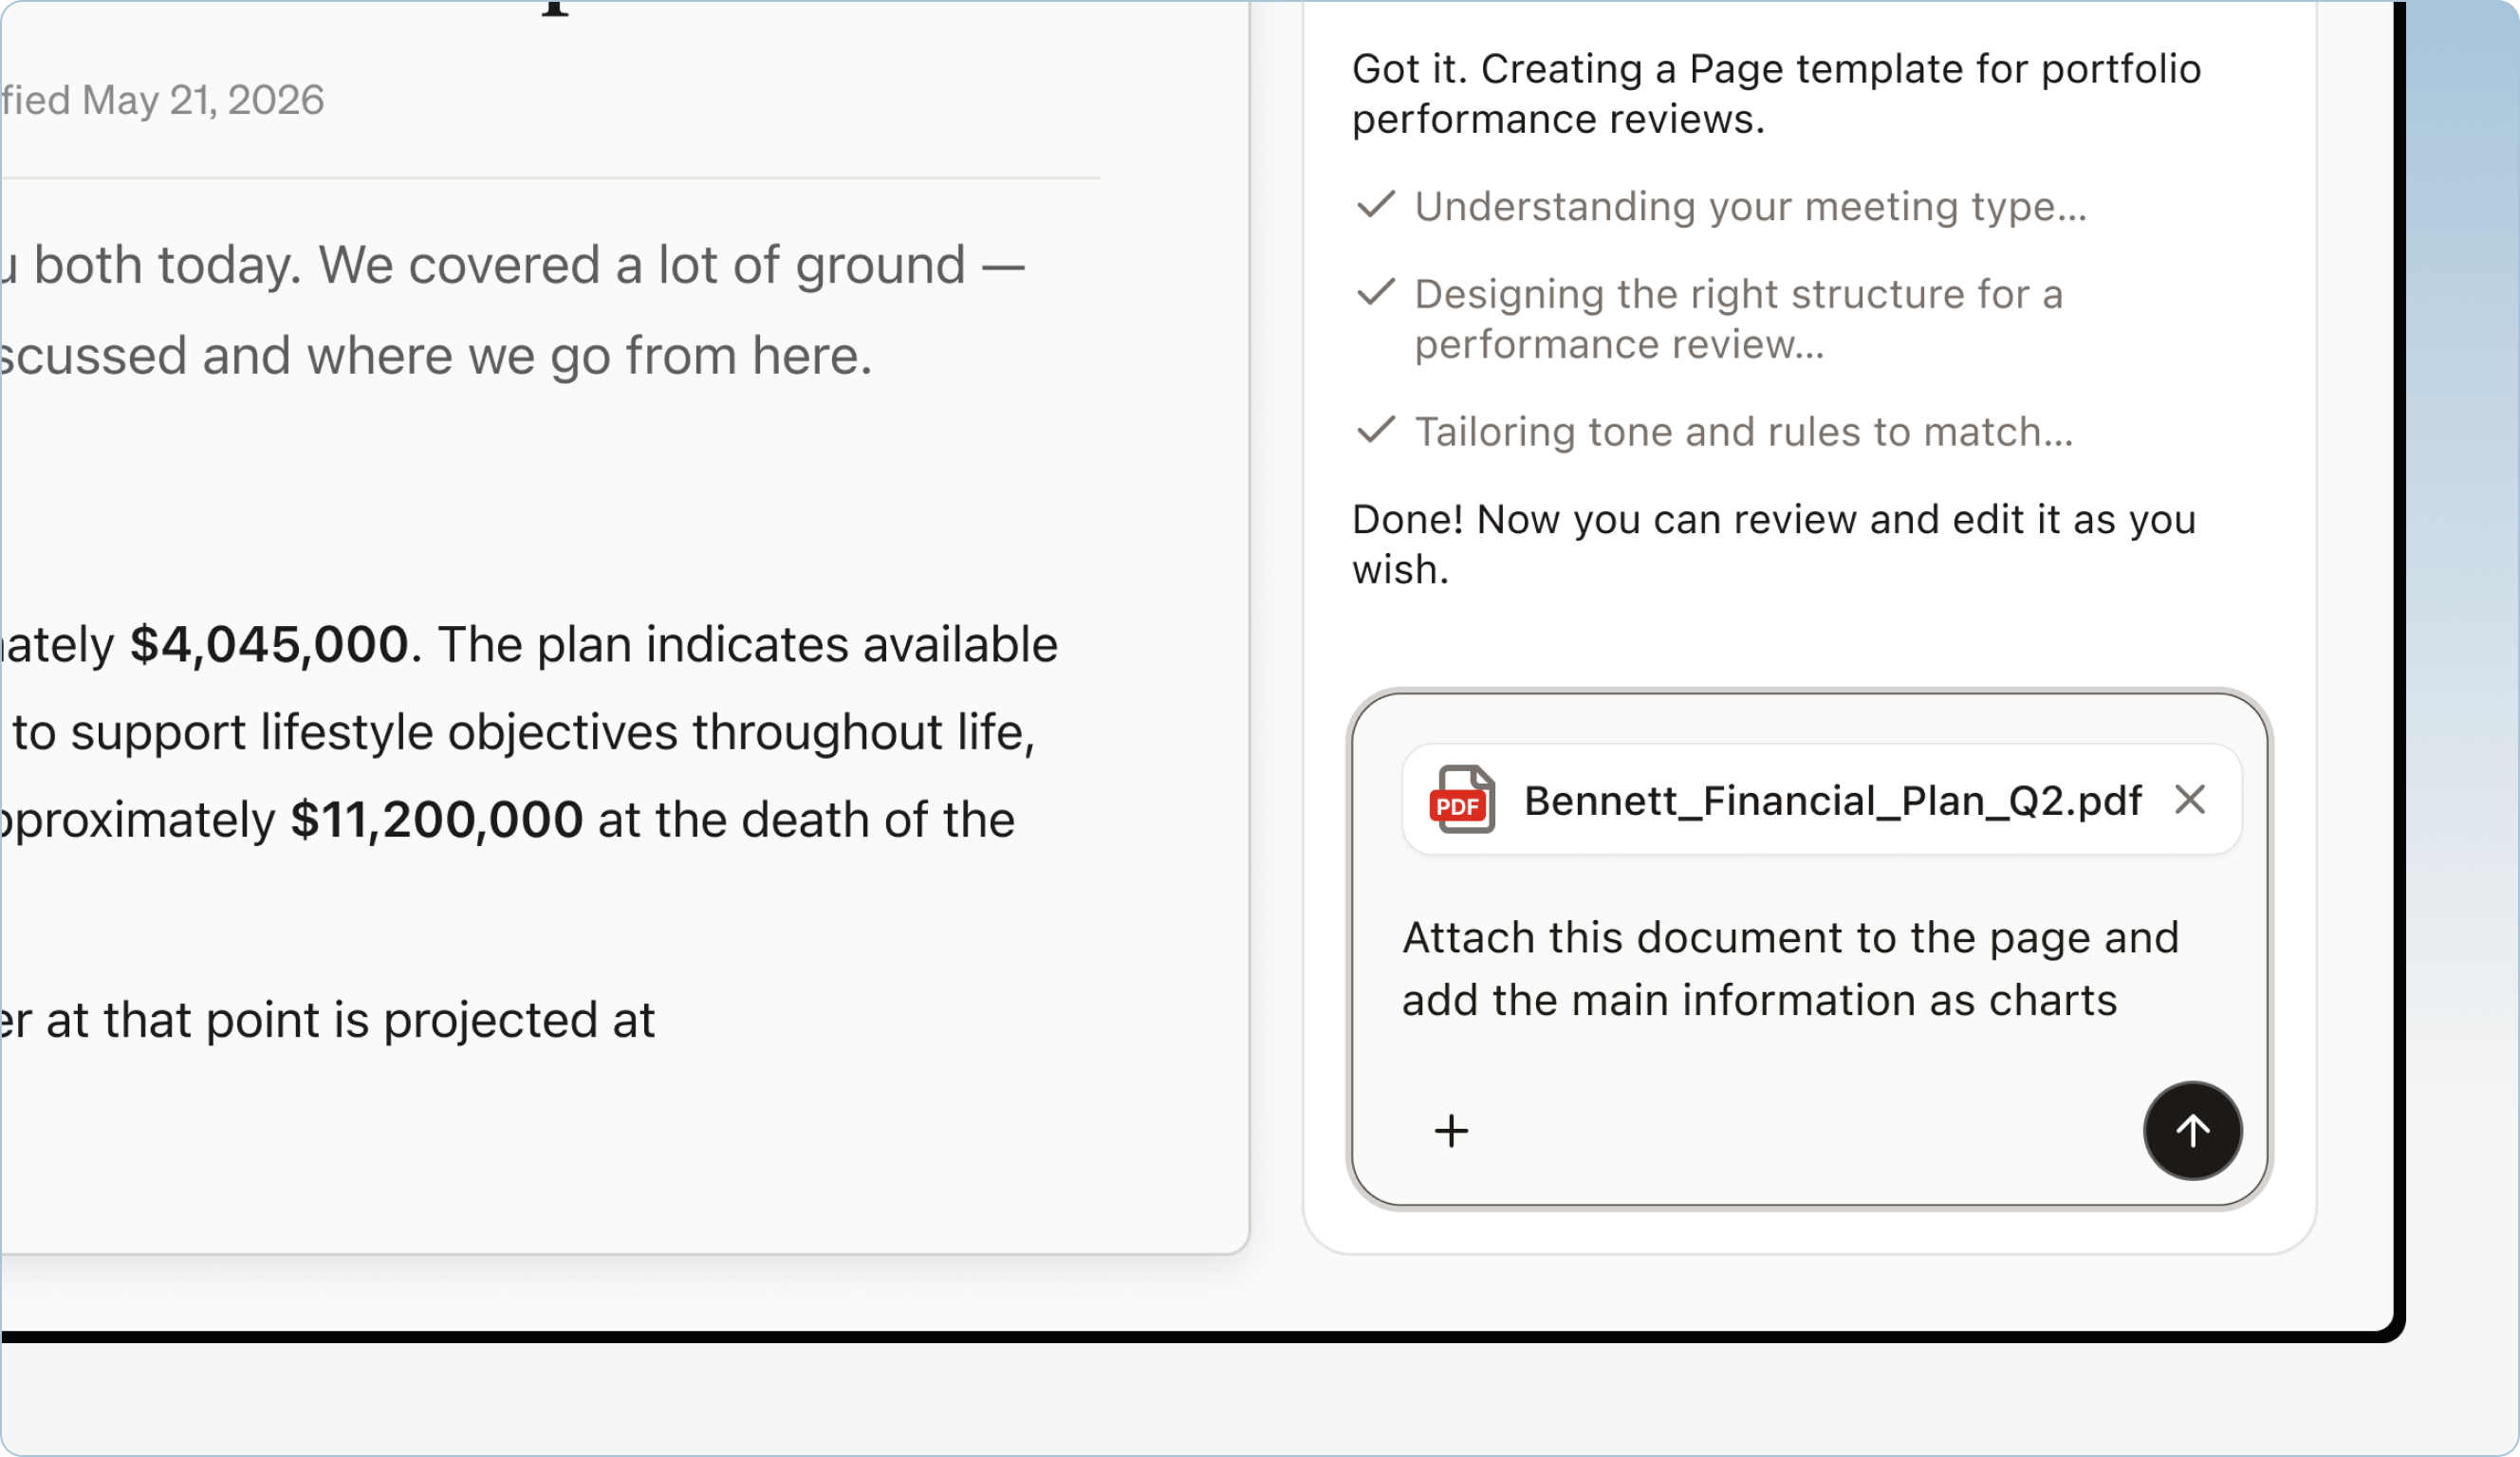
There are two ways to add documents to a Page. Through Edit with AI. Upload a document in the Edit with AI prompt and tell Continuum what to do with it — “Attach this financial plan for download” or “Pull the key projections from this PDF and add them to the Page.” This is the faster path when you want Continuum to both attach the file and build interactive content from it in one step.
Pages Upload Doc Img 1
In the Edit tab. Click “Edit” to enter edit mode, scroll to the Attachments section, and drag and drop files from your computer or click to browse. Documents you add here appear as downloadable attachments your client can access from the Page. What your client sees: Attached documents appear as a clean list within the Page. Your client can download each file directly — no need to dig through email attachments or search their inbox weeks later. The AI assistant knows your documents. When a client asks the embedded AI a question, it draws on the meeting transcript and any documents attached to the Page. If you’ve attached a financial plan, the client can ask questions like “What rate of return was assumed?” and get an answer grounded in their actual documents — not generic information.

Sending Pages

When your Page is ready, click the Send button. Continuum opens a “Your Page is ready to share” modal with everything you need. Suggested email draft: Continuum generates a ready-to-send email with the recipient’s address, a subject line, a short message referencing what you discussed, and a link to the Page. You can copy the individual fields (To, Subject) or click “Copy email” to copy the entire draft. Paste it into your email client — Outlook, Gmail, whatever you use — review it, and send. The email comes from your address, which your client recognizes and trusts. Access is restricted to your client. The modal confirms that only the client’s email can open the Page. When they click the link, they verify their identity before they can view the content. There are no open, unprotected links — every Page requires authentication. This is important for compliance: you have a verified record of who accessed the Page and when.
Pages Verified Img 1
What happens after sending: Once your client opens the Page, they can read the summary, explore charts and tables, download documents, book a follow-up meeting, and chat with the AI assistant. Every interaction is logged. You can track engagement anytime from the Pages tab.

Page analytics

Every Page gives you visibility into how your client is engaging with the content you sent them.
Pages Analytics Img
Aggregate overview: At the top of the Pages tab, you’ll see high-level stats across all your Pages: open rate (how many Pages have been opened out of total sent), total views, and chat interactions (how many viewers have engaged with the AI assistant). Use the time filter in the top right to view these stats over the last 7, 30, or 90 days. The Pages table: Below the overview, a table lists all your Pages with columns for title, status, client, views, and last activity. This gives you a quick read on which Pages are getting engagement and which haven’t been opened yet. Individual Page analytics: Click any Page in the table to open a side panel with detailed analytics for that specific Page. You’ll see:
  • Client — Who the Page was created for
  • From meeting — Which meeting the Page was generated from, if applicable
  • Status — Whether the Page has been created, sent, or viewed
  • Views — How many times the client has opened the Page
  • Chat interactions — How many times the client has used the embedded AI assistant
  • Activity log — A timeline of events: when the Page was created, when it was sent, when the client first opened it, and subsequent interactions
How to use this information: Analytics help you follow up with precision. If a client has viewed the Page multiple times but hasn’t reached out, that’s a signal they’re engaged and might have questions. If a prospect hasn’t opened their Page at all three days after you sent it, a gentle nudge might be in order. If a client has had several chat interactions with the AI, that tells you what’s top of mind before your next meeting. The engagement data also shows up in your meeting prep context. Before your next meeting with a client, Continuum can surface what they engaged with on their last Page — so you walk into the conversation already knowing what they cared about most.
Pages is available on the Continuum Pro plan. During early access, pricing is locked at the early access rate for 12 months. For questions or feedback, reach out to your Continuum contact or email support@oncontinuum.com.