Your Settings page is where you make Continuum yours. Manage your profile, connect your tools, configure your organization, and control your subscription, all in one place.
Accessing Settings
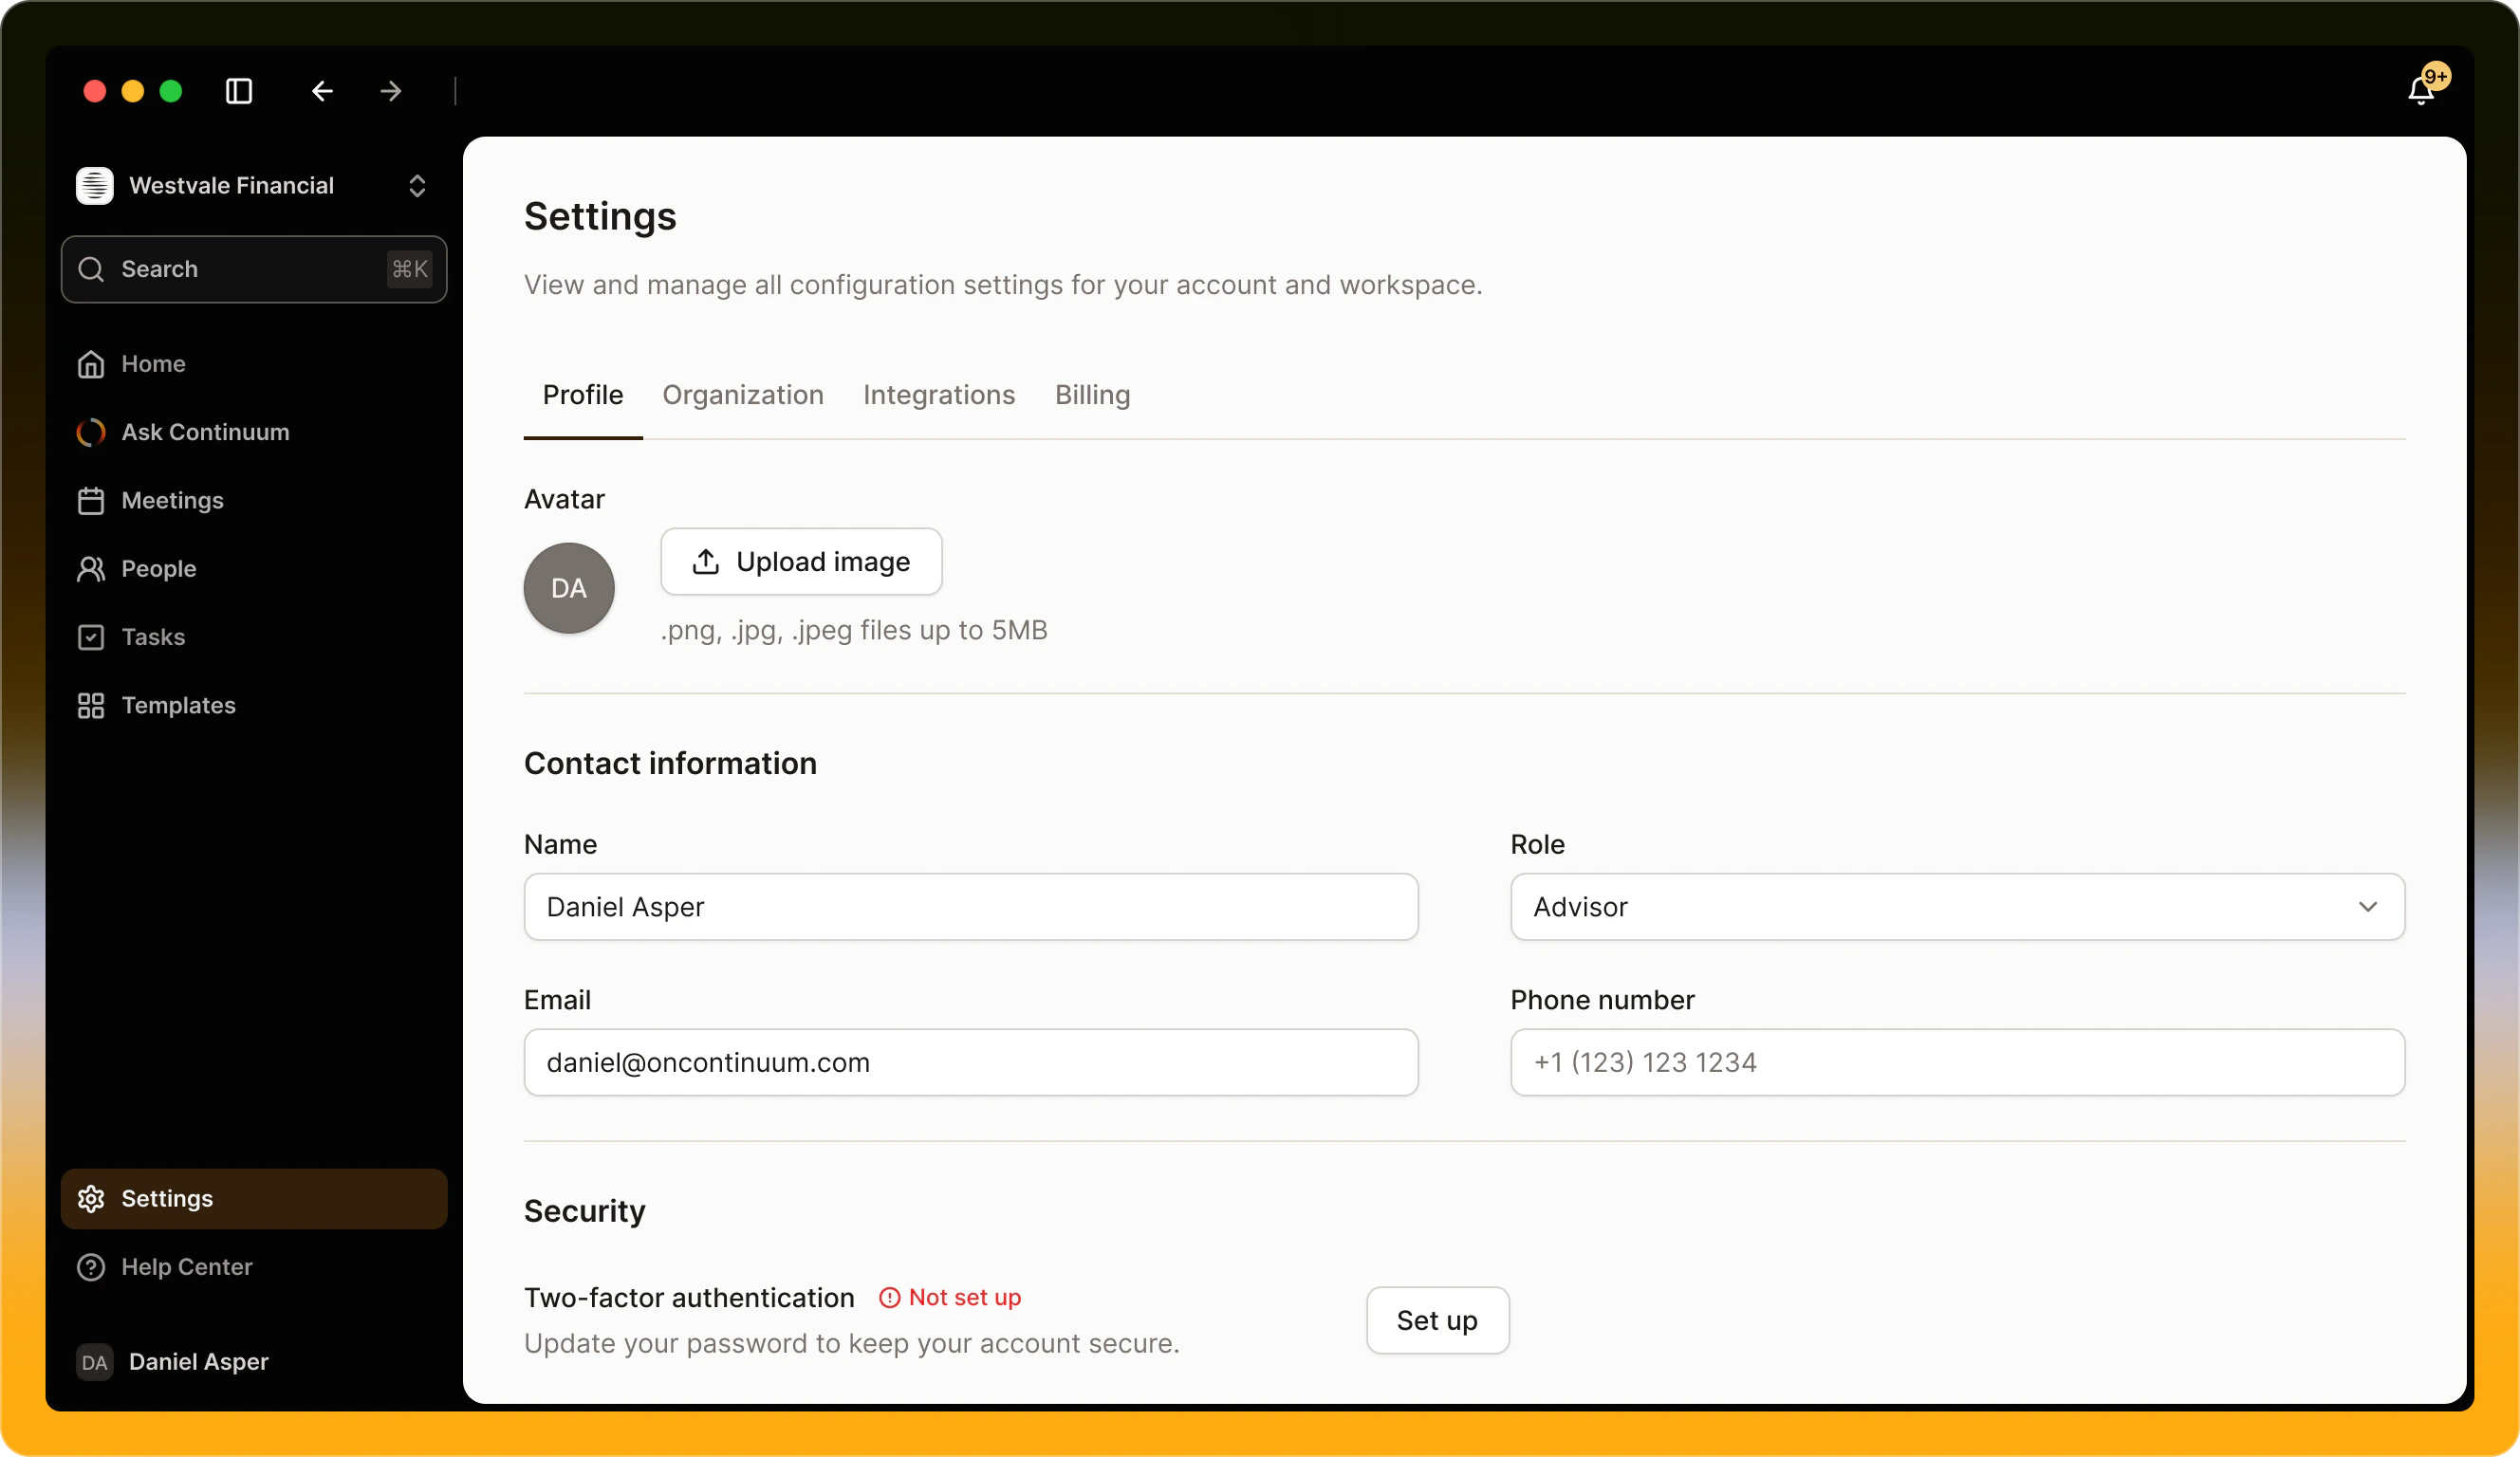
Click the Settings icon in the sidebar to open your Settings page. Everything is organized into four main tabs: Profile, Organization, Integrations, and Billing.
Profile Tab
Manage your personal information and account preferences.
Avatar: Upload a profile photo to personalize your account. Click Upload image and choose a .png, .jpg, or .jpeg file up to 5MB. Your avatar appears throughout Continuum and helps teammates identify you.
Contact information:
- Name - Your full name as it appears in Continuum
- Email - Your account email address
- Role - Your role in the organization (Advisor, Admin, etc.)
- Phone number - Optional contact number
Click into any field to edit it. Changes save automatically.
Security: Enable Two-factor authentication to add an extra layer of security to your account. Click Set up and follow the instructions to connect your authenticator app. If you see “Not set up” with a red indicator, it means 2FA isn’t enabled yet—we recommend setting it up to keep your account secure.
Organization Tab
Manage your workspace and team members (visible to all users, editable by admins).
Organization information:
- Avatar - Upload your organization’s logo
- Organization name - Your firm or company name
This information helps identify your workspace.
Team members: See everyone in your organization with their Name, email address, status, role, seat type and join date. The list shows who’s actively using Continuum and who still needs to accept their invitation.
Managing members (Admins only): Admins can invite new team members, manage roles, and remove users who no longer need access. Click Invite Member to add someone new to your Continuum workspace.
Switching workspaces: If you belong to multiple organizations, you can switch between them using the workspace dropdown at the top of your sidebar.
Managing members (Admins only)
Inviting Team Members
As an admin, you can add new people to your Continuum organization directly from Settings — no need to contact support.
- Scroll down to Team members and click Invite Member
- Enter their Name and Email
- Choose their Role:
- Admin — Full access to organization settings, can manage members, and has all member permissions.
- Member — Can view and participate in meetings, but cannot manage organization settings or members.
- Choose their Seat type:
- Standard ($79/month) — Can create and capture meetings, and has full access to all features.
- Assistant ($39/month) — Can view meetings shared by team members, but cannot capture or edit meetings.
- Click Next, review the details, and click Confirm
Once confirmed, they’ll receive an email invitation with instructions to sign in, download the app, and connect their calendar. You can always check their status in Settings → Organization to see who has accepted vs. who is still pending.
Tip: Help your new team member get started quickly by pointing them to the Setup Guide. They’ll need to download the desktop or mobile app, sign in with their work account, and connect their calendar to start capturing meetings. Billing note: Adding a new seat will update your billing automatically. A prorated charge is applied right away for the remainder of your current billing period, and the full seat cost will appear on your next invoice.
Managing existing members
You can update any team member’s Role or Seat type at any time. To do so, click the three-dot menu (⋮) on the right side of their row, select Edit role or Edit seat type and choose the new option.
Changes take effect immediately. Any billing adjustments are handled automatically — you’ll see updated charges reflected in your next billing cycle.
Removing a member
If someone leaves your team or no longer needs access:
- Click the three-dot menu (⋮) next to their name
- Select Remove member
Their access to your organization’s meetings and data will be revoked. Your billing will be adjusted accordingly on your next invoice.
Adding, changing seat types, or removing users automatically updates your billing—there’s nothing extra you need to do. As teammates accept invitations (or are removed), your invoice reflects the current number of seats.
Preferences Tab
Customize how Continuum works for you — from the notifications you receive to how your meeting content is shared.
Notifications:
Pre-meeting prep email — Get an email 1 hour before upcoming meetings with a quick recap of your last conversations and suggested talking points. Toggle this on or off depending on whether you find the pre-meeting reminders helpful. Enabled by default.
Meetings:
Show calendar events without attendees — Choose whether to display calendar events where no one else is invited, like prep time, lunch blocks, or personal reminders. Turn this on if you want to see your full calendar in Continuum, or leave it off to keep your meeting list focused on actual client and team interactions. Disabled by default.
Who sees your meeting notes — After each meeting, Continuum generates a summary. This setting controls the default visibility of those notes. Choose Share to automatically share summaries with your team, or switch to Private to keep them visible only to you. You can always change the sharing setting on individual meetings later — this just sets your default.
Integrations Tab
Connect Continuum to the tools you already use—your calendar, CRM, email, and more.
Calendar and Email: This section handles your meetings, events, and email correspondence.
Available integrations: Microsoft Outlook, Gmail and Google Calendar, Apple Calendar.
When an integration is connected, you’ll see a green “Connected” badge, your connected email address and a Details dropdown to manage settings.
CRM: Connect your customer relationship management platform to sync contacts, tasks, and notes.
Available CRM integrations: Salesforce, HubSpot, Wealthbox, and other major platforms.
When connected, click Details to see see your connected account information and its status, adjust sync settings, or disconnect it if you no longer need it.
Why integrations matter: Integrations eliminate manual work. Your calendar meetings appear in Continuum automatically. Meeting summaries push to your CRM with one click. Contacts sync both ways. Everything stays aligned without you lifting a finger.
To learn more about integrations, see the Integrations page. Billing & Subscription
Manage your subscription, payment method, and plan options.
Current plan: See which plan you’re on, how many seats you’re using, and your current billing cycle.
Admins only: Only workspace admins can manage billing and payment method. Regular members will see their current plan but can’t make changes.
Changing Your Plan
Admins can switch between Core Yearly and Core Monthly billing at any time from the Billing tab.
What happens when you switch:
- Upgrading to Yearly: The change takes effect immediately. You’ll be charged today with a prorated credit applied for the remainder of your current billing cycle.
- Downgrading to Monthly: Your current yearly plan stays active until it expires. Monthly billing begins on your next renewal date — no changes until then.
Settings Best Practices
Complete your profile: Take a minute to add your photo, phone number, and verify your email. It makes collaboration smoother and helps teammates identify you quickly.
Connect integrations during setup: Link your calendar and CRM right when you start using Continuum. The sooner these connect, the sooner your data flows automatically.
Enable 2FA: Two-factor authentication takes 2 minutes to set up and significantly improves your account security. It’s worth it.
Check integration status quarterly: Once every few months, open the Integrations tab and verify everything shows “Connected” and “Synced.” Sometimes permissions expire and need to be refreshed.
Keep your profile current: When you update your email, or move to a new organization, update your profile. Accurate information helps Continuum work better for you.
Keep business address current: If your firm moves or changes contact information, update it in the Organization tab. This keeps your invoices and official communications accurate.ShareContent